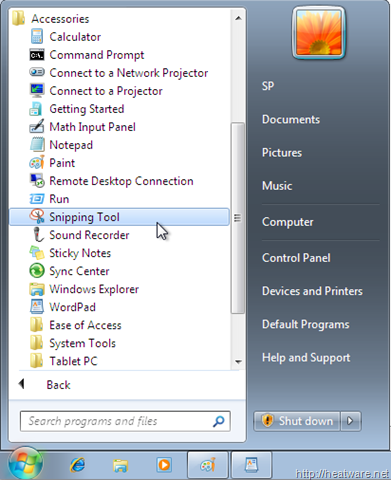
Sometimes the easiest way to make a copy of something is to take a snapshot of your screen-this is what snipping tool does. Use it to save and share. This tool offers clean, simple and user-friendly functionality.
You can capture the following types of snips;
- Free-Form Snip. Draw any shape around an object with your finger , mouse or tablet pen.
- Rectangular Snip. Drag the cursor around an object to form a rectangle.
- Window Snip. Choose a window-like a browser window or a dialog box.
- Full-Screen Snip. Capture the entire scree.
Capture a Snip
In Snipping tool, tap or click the arrow next to the New button, choose the kind of snip you want, and then pick the area of your screen that you want to capture. The snip is automatically copied to the Snipping Tool Window.
Save a Snip
- After you capture a snip, tap or click the Save Snip button.
- In the Save As dialog box, enter a file name, location, and file type, and then tap or click Save.
Share a Snip
After you capture a snip, tap or click the arrow next to the Send Snip button, and then choose whether you'd like to send the snip in the body of your email or as an attachment.


No comments:
Post a Comment